Roof installation is a significant investment, and the importance of installing a roof drip edge cannot be overstated. A roof drip edge plays a crucial role in safeguarding your roofing system against water damage and enhancing its overall longevity. During the Roof Installation process, this unassuming component acts as the first line of defense, directing water away from the roof edge and preventing it from seeping underneath the roofing materials. By channeling rainwater away, the drip edge ensures that your roof remains watertight and shields your home from potential structural issues and costly repairs down the road. In essence, incorporating a proper roof drip edge into your roof installation project is a wise decision that contributes to the overall durability and resilience of your roof.
Install the roof drip edge along the eave, add an underlayment, and then place the drip edge along the end. The best way is to first install the roof drip edge only along the eave, then place an ice and water barrier (in the snow belt) or felt paper (bottom layer) over the drip edge. This allows water entering the roof to run down the subfloor and past the drip edge. This is a quick tutorial on installing the drip edge and why it plays an important role in your roofing system.
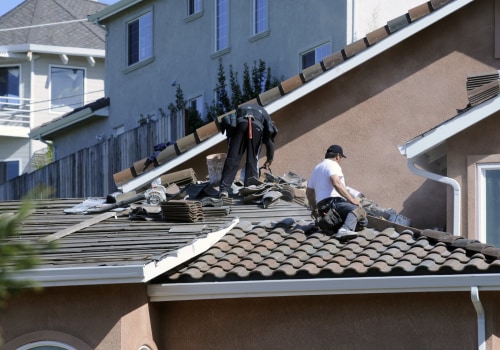
In roofs without an eave or ceiling, proper installation of the drip edge protruding from the fascia board at the top of the wall is very important to prevent water damage to the walls of the building below. In years past, many building codes didn't require drip edges, but the roofing community realized that these relatively inexpensive products make a big difference in roof performance. I recently had my roof changed, installed the continuous drip edge, but during the initial demonstration, the dashboard boards were damaged. Bend the vertical leg and make sure the roof leg flap is on top of the roof leg of the eaves.
To install a drip edge on a newly built roof or new roofing job, first place the drip edge along the roof overhang. Often, the common practice is to leave out the drip edge and compensate for it by installing asphalt shingles so that they hang from the edge an inch or two. In ROOF VENT, if THERE IS NO SOFFIT, the roof shown above is difficult but not impossible to ventilate, a step to prevent leaks in the ice dam and moisture problems in the attic. The above sketch illustrates the final profile of the roof drip edge flashing and shows its placement on the ceiling.
The roofer probably installed the drip edge slightly away from the dashboard, but after installing the vinyl, that space was reduced. Proper installation is essential to prevent water from reaching the roof deck or fascia boards. If your roof is already finished (no drip edge), you can still do a drip edge upgrade installation.