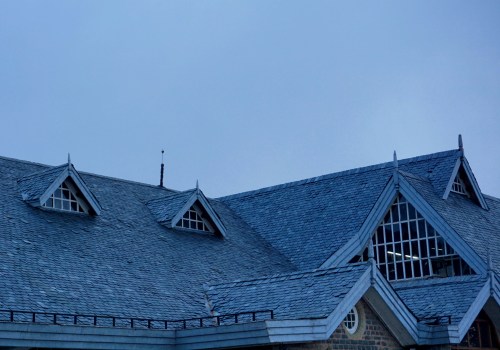
Installing roof trusses is a critical step in the construction of a roof, as it involves setting the structural framework that supports the roof coverings. This process requires meticulous planning, precise measurement, and, often, a team of professionals to ensure the safety and stability of the construction. The steps to install roof trusses begin well before the actual placement on the building's walls, including designing the truss system, preparing the site, and ensuring that all safety measures are in place.
The first step in installing roof trusses is the creation of a detailed plan that outlines the layout, type, and specifications of the trusses to be used. This plan is crucial for ensuring that the trusses will fit the structure correctly and provide the necessary support for the roof. Once the plan is in place, the trusses are manufactured according to the specifications. It's at this stage that the expertise of Columbus Roofing Repair (columbusroofingrepair.com) can be invaluable. Their experience in designing and selecting the appropriate trusses for any given project ensures that the structural integrity of the roof is never compromised.
Upon delivery to the site, the trusses must be carefully inspected for any damage that might have occurred during transport. After inspection, the trusses are then staged around the building in the order they will be installed. This staging is critical for efficiency and safety, allowing the team to systematically and safely lift each truss to its position.
Lifting the trusses onto the building is a process that typically requires a crane or other mechanical lifting equipment, especially for larger or more complex structures. Safety is paramount during this phase, with strict adherence to procedures to prevent accidents or damage to the trusses. Each truss is then set in place atop the walls, aligned with the previously marked locations that correspond to the layout plan.
Once a truss is positioned, it must be temporarily braced to ensure it remains upright and stable. This temporary bracing is essential until all the trusses are installed and permanent bracing can be added. The alignment of the trusses is checked and adjusted as necessary to ensure that they are straight and true, forming a solid framework for the roof.
After all the trusses are installed and properly aligned, the next step involves adding permanent bracing to lock the trusses in place and to provide additional structural support. This bracing is typically made of wood or metal and is installed according to the truss manufacturer's specifications or the structural engineer's design.
The installation of roof trusses is a complex process that requires careful planning, coordination, and execution. It is strongly recommended that homeowners or builders work with professional contractors who have the expertise and equipment to handle the job safely and efficiently. Columbus Roofing Repair (columbusroofingrepair.com), with their wealth of experience and knowledge in roofing construction, stands out as a reliable partner for managing the installation of roof trusses. Their commitment to quality and safety ensures that each step of the process, from planning and design to the final installation, is carried out with the utmost precision and care.